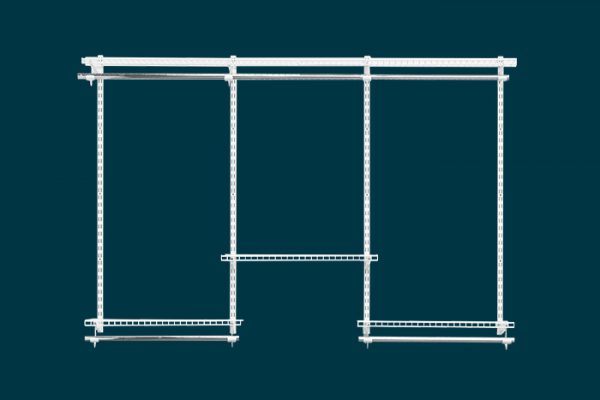
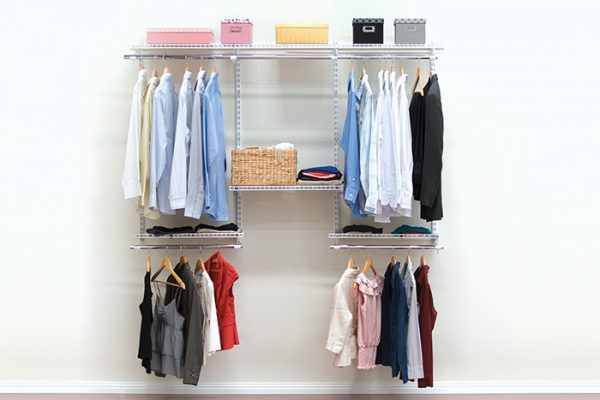
Easy to install. Simple to use. So affordable, you’ll wish you had Flexi Storage Home Solutions sooner. Here you can see how to build your very own Home Solutions System.
Learn How To Build A Home Solutions System
Step 1
Measure & Plan
Measure and plan your system first. Use the planning sheet to ensure your measurements are correct.
What you'll need
- Tape Measure
- Pencil
- Spirit Level
- Cordless Drill with a No. 2 Phillips Head Bit and/or Phillips Head Screwdriver
- Step Ladder
Please Note
Home Solutions can be installed into Masonry, Plasterboard or Wall Studs. Please use the required wall plugs and mounting system applicable to each of them.
Step 2
Install Your Hang Track(s)
Installing your Hang Track is easy. Just ensure that it is level (using a spirit level) before screwing in. This step is critical as the whole Home Solutions system requires a level foundation. Don’t worry about the exposed Hang Track, as we have Hang Track Covers to conceal the track.
Step 3
Installing The Wall Strips
To install the Wall Strips, simply hang them from the Hang Track, working from one end first. Before fixing your first Wall Strip, ensure it is vertical using a spirit level. Once fixed to the wall, install the other Wall Strips by using the Hang Track Cover as a spacer. This sets each Wall Strip 558mm apart, allowing all Home Solutions accessories to be used.
Step 4
Wall Strip Joiners
If you want to extend the length of your wall strips simply use our Wall Strip Joiners. These enable you to attach another wall strip simply and easily. Wall Strip Joiners are ideal if you want to maximise the vertical space you have. Don’t worry, you can install Wall Strip Joiners at any stage should you require them in the future.
Step 5
Installing Your Brackets
Our Wall Strip Brackets simply click securely into our Wall Strips. To add a Hanging Rod, simply clip in our Hanging Rod Bracket to the required depth, then click in our Hanging Rod.
Step 6
Installing Wire Shelves
Our Wire Shelves come in a variety of widths and are perfect for use in wardrobes and laundries as the ventilated structure allows for greater air circulation. To install, simply clip them into the bracket (nose first) then lock into place. For a truly clean appearance we recommend adding our Nose End Covers.
Step 7
Accessorise
With your layout established, you can now accessorise your Home Solutions system to suit your specific needs. Choose from Sliding Baskets, Pants Racks, Single Drawers, Shoe Racks and much more.
Step 8
Enjoy Your System
Your Home Solutions set-up is now complete! Don’t worry, if you change your mind you can always refresh your system at any time!
All Too Hard?
Grab A Starter Kit!
Our boxed kits create up to 4.5 metres of shelving and are the perfect way to start your Home Solutions System. Your system can be increased in size and added to with a variety of accessories for a truly tailor-made solution. Our kits come complete with all fixings and attachments. All you need to do is install the system.
- No cutting required!
- Fixings included
- Available in White
- Suits all wardrobe types
- You can add on accessories or further expand our kits by adding extra shelving and Hanging Rods